
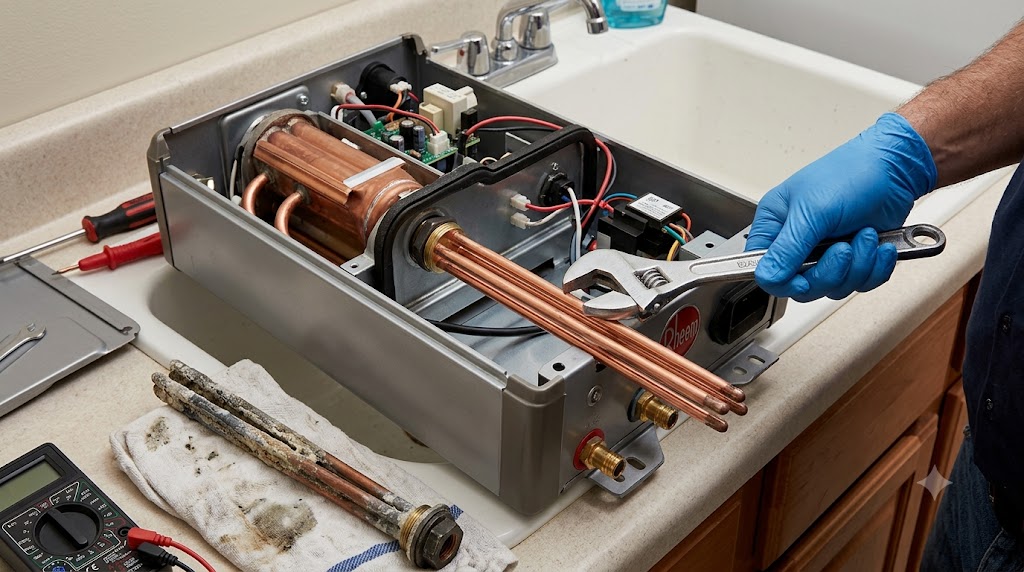
Several verified RTEX-24 owners describe the same basic sequence when a heating element fails: cut the breaker, shut off the water, unscrew four wires, swap the element, reconnect, done in about 30 minutes. That consistency across independent reviews is a good sign that this repair, while it involves electrical work, is genuinely within reach for a comfortable DIYer who takes the right safety precautions.
Replacing a heating element in a Rheem RTEX-24 involves cutting power at the breaker, shutting off water supply, disconnecting the four wires on the failed element, unscrewing and removing it, installing the replacement, and reversing the process, a repair multiple verified owners completed in approximately 30 minutes. This is more accessible than most tankless water heater repairs specifically because Rheem’s three-element design allows individual element service without replacing the entire unit.
Signs You Need to Replace a Heating Element
Based on patterns in verified reviews, common signs of a failing element include reduced maximum water temperature even with the unit running at full demand, error codes related to heating performance, or in more serious cases, visible damage or corrosion around the element’s connection point when you inspect the unit directly.
Before You Start: Safety First
Turn off the water supply to the unit completely. Then go to your electrical panel and switch off all three double-pole breakers dedicated to the RTEX-24, don’t rely on any on-unit control to fully de-energize the system. Confirm the unit has no power using a voltage tester before opening it up, this is a critical safety step given the 240V circuits involved.
The Replacement Process
Based on the sequence described across multiple verified owner reviews:
Access the element housing, typically located on the front or side panel of the unit, following your specific model’s service panel design.
Disconnect the four wires connected to the failed element, noting their exact positions or taking a photo first so you can reconnect the replacement correctly.
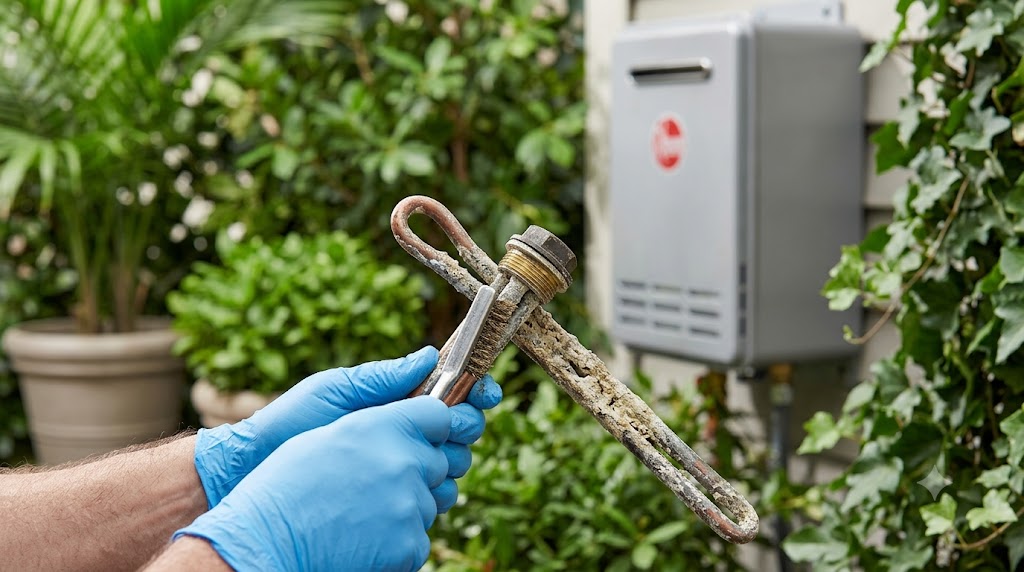
Unscrew the element from its housing. Some reviewers note the element may resist initially due to mineral buildup or thread corrosion, requiring careful, steady pressure rather than excessive force that could damage the housing threads.
Install the replacement element, ensuring a proper seal to prevent leaks, then reconnect the four wires to their original positions.
Restore water supply first and check for leaks around the newly installed element before restoring electrical power.
Restore power at the breaker and test the unit’s operation, confirming the display shows normal function and temperature output returns to expected levels.
What Can Go Wrong During Replacement
At least one detailed verified review describes a complication worth knowing about in advance: while installing a replacement element, a small internal partition inside the element housing cracked, which effectively made the unit’s housing unusable for a proper seal going forward. This reviewer specifically noted this as “poor design” from their experience, cautioning that the housing components can be more fragile than expected during element replacement, particularly on units that have already experienced significant thermal cycling or mineral buildup over time.
This doesn’t mean every replacement goes wrong, most documented replacements in reviews describe a straightforward, successful repair, but it’s worth working carefully and not forcing any component that seems to be resisting more than expected.
Where to Get a Replacement Element
Genuine and compatible replacement heating elements for the RTEX-24 are available through Amazon, including options compatible with multiple RTEX models (RTEX-18, RTEX-24, RTEX-27) and equivalent EcoSmart models, since several manufacturers use comparable element specifications across their tankless lineups.
HE 90240 Heating Element Replacement for Rheem RTEX-18/24/27 - View on Amazon
When to Call a Professional Instead
If you’re not comfortable working near your electrical panel, if the failure appears to involve more than just the element itself (wiring damage, control board issues), or if you experience the kind of housing complication described above, calling a licensed electrician or plumber experienced with tankless systems is the safer path forward rather than continuing to troubleshoot an increasingly complicated repair yourself.
For a broader look at the range of problems that can affect this unit beyond just element failure, see our complete problems guide.
The Bottom Line
Replacing a failed heating element on the Rheem RTEX-24 is a manageable repair for comfortable DIYers who follow proper electrical safety steps, commonly completed in about 30 minutes based on multiple verified owner accounts. Work carefully around the housing components, and don’t hesitate to call a professional if the repair reveals complications beyond a simple element swap.
Frequently Asked Questions
How do I replace a heating element on the Rheem RTEX-24? Cut power at the breaker, shut off water supply, disconnect the four wires on the failed element, unscrew and remove it, install the replacement, reconnect wiring, and restore water and power in that order.
How long does it take to replace a Rheem RTEX-24 heating element? Based on multiple verified owner accounts, this repair typically takes about 30 minutes for someone comfortable with basic electrical safety procedures.
Can I replace the heating element myself? Many verified owners have successfully completed this repair themselves, though it requires comfort working near electrical connections and following proper safety precautions like fully de-energizing the unit first.
How do I know if my heating element has failed? Common signs include reduced maximum water temperature, heating-related error codes, or visible damage or corrosion around the element’s connection point.
Where can I buy a replacement heating element for the Rheem RTEX-24? Compatible replacement elements are available through Amazon and other retailers, with some options compatible across multiple RTEX models.
Is it safe to replace a heating element myself? Yes, if you follow proper safety steps, fully cutting power at the breaker and confirming with a voltage tester before opening the unit. If you’re not comfortable with this, hire a licensed professional.
What can go wrong during a heating element replacement? At least one detailed review documented a cracked internal housing partition during replacement, which compromised the unit’s ability to properly seal going forward, so work carefully and avoid forcing any resistant component.
Do all three elements need to be replaced at once? No, Rheem’s three-element design allows individual element replacement without needing to replace the others, provided only one has actually failed.
Does hard water affect how often I’ll need to replace elements? Yes, mineral buildup from hard water is a commonly cited contributing factor to premature element failure, based on multiple verified owner accounts.
Should I call a professional instead of replacing the element myself? If you’re not comfortable working near electrical panels, or if the failure seems to involve more than just the element (wiring or control board issues), calling a licensed professional is the safer choice.
References
- Verified Amazon customer reviews describing real heating element replacement experiences for the Rheem RTEX-24, accessed July 2026: https://www.amazon.com/dp/B01MS9DVEE
- Amazon.com replacement heating element product listings compatible with Rheem RTEX models, accessed July 2026