
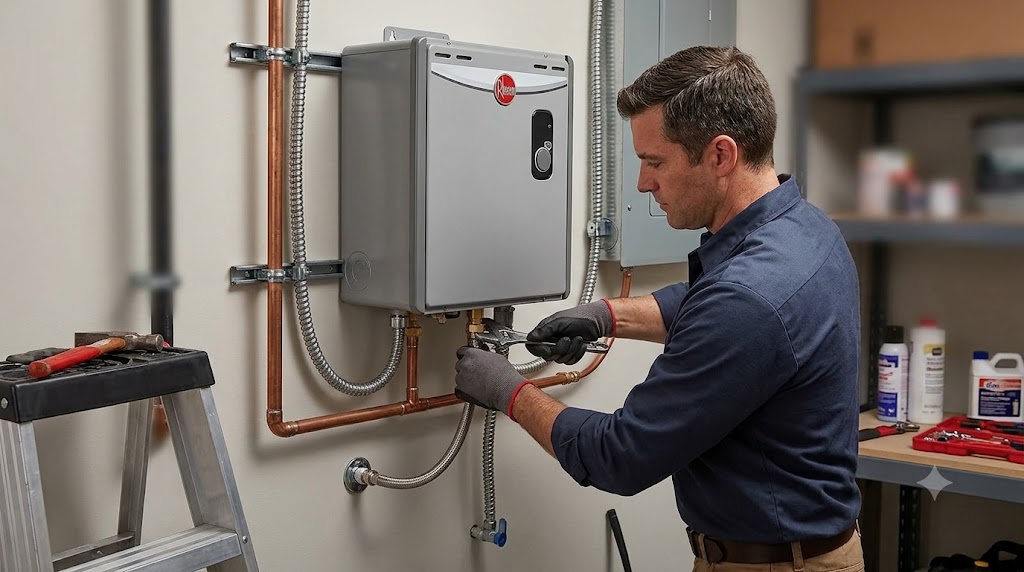
One verified RTEX-24 reviewer laid out their entire installation experience in more detail than most manufacturer manuals, right down to which pipe diameter they used to pull their wiring. That level of real, hands-on detail is worth more than a generic installation checklist, so this guide leans heavily on what actual owners describe doing, cross-checked against Rheem’s own product documentation.
Installing a Rheem RTEX-24 involves two separate projects: the plumbing connection (straightforward for most homeowners) and the electrical work (three 40-amp double-pole breaker circuits, typically requiring a licensed electrician). Rheem’s own product listing states plainly that you must “ensure your home can accommodate the power supply and that enough space is available in your breaker panel” before starting, which is the single most important pre-installation check.
Before You Start: Confirm Your Electrical Capacity
This step happens before you even open the box. The RTEX-24 requires three 40-amp double-pole breakers, and Rheem recommends 200-amp household electrical service. Check your existing panel for:
- Three open double-pole breaker slots (or room to add a sub-panel if not)
- Overall panel capacity sufficient to add this load without exceeding your service rating
- A main breaker in your panel, which one verified reviewer specifically recommended having so you don’t need to shut down your entire house for the final connection
If your panel doesn’t have room, budget for either a panel upgrade or an auxiliary breaker box, which one detailed reviewer needed and had installed alongside the main electrical work.
The Plumbing Connection
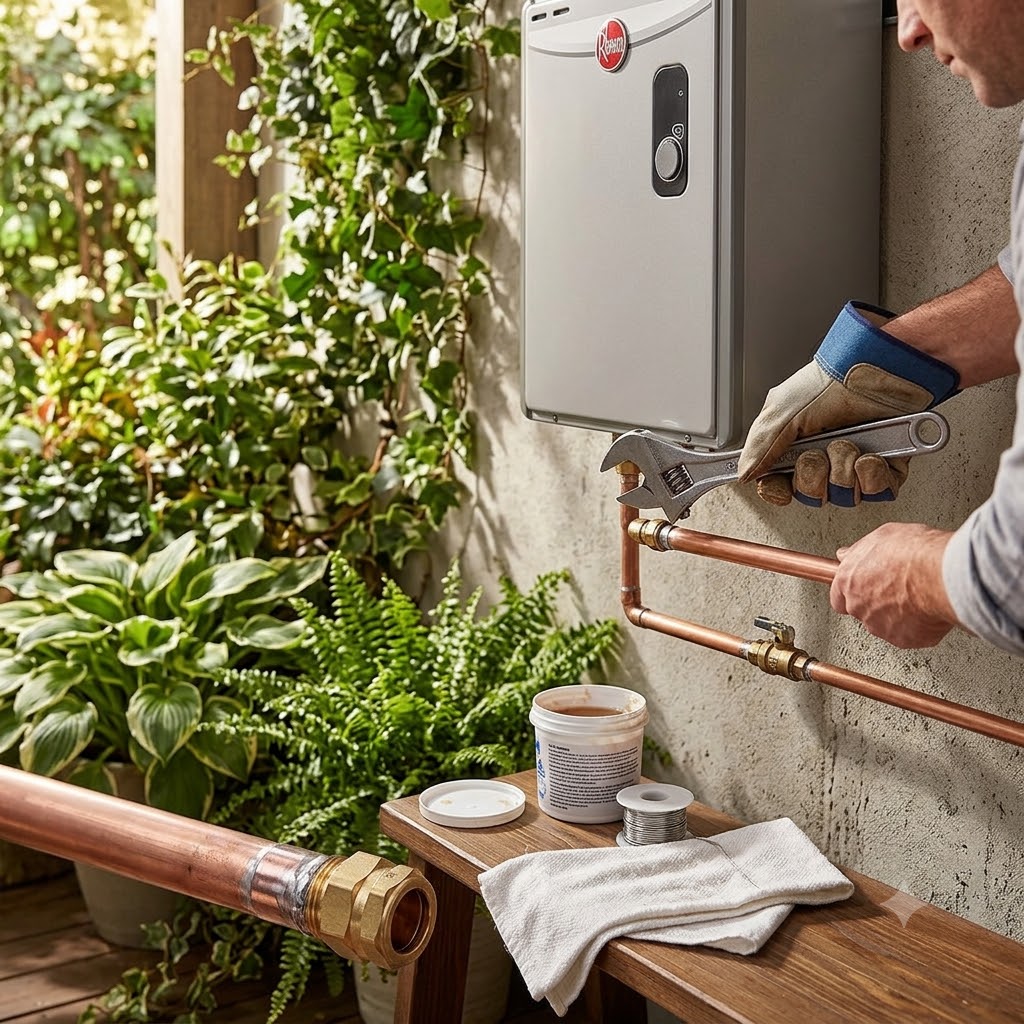
The RTEX-24 connects via 3/4 inch NPT fittings at the bottom of the unit. For most homeowners replacing an existing tank, this part of the installation is genuinely manageable: shut off your water supply, disconnect the old tank’s plumbing, and connect the new unit’s fittings using standard plumbing fittings and shutoff valves.
Several verified reviewers recommend installing dedicated isolation valves at the water connections specifically to make future maintenance (like descaling) easier without having to shut off your entire home’s water supply. A basic service valve kit designed for tankless installations handles this well.
The Electrical Work
This is where most homeowners bring in a licensed electrician, and for good reason. Based on real reviewer accounts, the electrical portion of installation involves:
Running three separate 40-amp double-pole circuits from your panel to the unit’s location. One detailed reviewer specifically noted needing 8-gauge wire for each circuit, meaning nine individual 8-gauge wires total (three circuits times three wires each: two hots and a ground, depending on your local code requirements).
Sizing your conduit correctly. That same reviewer used 1-inch conduit specifically because a smaller diameter wouldn’t physically fit all nine wires through it, a detail that’s easy to miss if you’re not experienced with electrical rough-in work.
Confirming your panel has a main breaker or planning for a way to make the final connection without a full house shutdown.
One verified reviewer specifically added a surge protector after installation, noting a general concern about protecting what they described as “delicate electronics inside” the unit from power surges, a reasonable precaution given the unit’s digital control board.
Real Reviewer-Reported Costs
Actual electrician costs vary by region, but two detailed verified reviews provide useful reference points. One reviewer in a moderate-cost area paid $850 for a licensed electrician and journeyman to complete the work, including installing a new auxiliary breaker box, in about three hours. Rates will vary significantly in major metro areas or regions with higher labor costs, so treat this as a reference point rather than a guaranteed quote for your specific location.
After Installation: What to Check
Once installed, confirm the digital display shows your expected set temperature and that it matches what actually comes out of the tap. A small temperature drop (2 to 4 degrees) at fixtures far from the unit is normal due to heat loss over pipe distance, not a defect, according to detailed reviewer testing using an actual thermometer at the point of use.
Test running two fixtures simultaneously to confirm the unit handles your household’s realistic peak demand before considering the installation fully complete.
For a full breakdown of exactly what electrical capacity this unit needs and why, see our electrical requirements guide.
Rheem RTEX-24 24kW 240V Electric Tankless Water Heater - Check Current Price on Amazon
If you’re setting up isolation valves as part of your installation, a dedicated service valve kit makes future maintenance considerably easier:
Tankless Water Heater Service Valve Kit - View on Amazon
The Bottom Line
Installing the Rheem RTEX-24 is a two-part project: manageable plumbing work most homeowners can handle, paired with substantial electrical work that typically requires a licensed electrician. Confirm your panel capacity before you buy, budget realistically for electrician labor, and consider isolation valves and a surge protector as smart additions during installation.
Frequently Asked Questions
Can I install the Rheem RTEX-24 myself? The plumbing connection is manageable for many homeowners, but the electrical work (three 40-amp double-pole breaker circuits) typically requires a licensed electrician in most jurisdictions.
What size wire does the Rheem RTEX-24 need? Based on verified reviewer installations, 8-gauge copper wire is commonly used for each of the three required double-pole circuits, though your electrician should confirm the correct size based on your specific run length and local code.
How long does it take to install a Rheem RTEX-24? Electrical work alone has been reported at around three hours by a licensed electrician and journeyman in one detailed verified review, though total installation time varies based on whether panel upgrades or new circuits are needed.
Do I need a permit to install the Rheem RTEX-24? Electrical work of this scale often requires a permit in most jurisdictions. Check with your local building department before starting, since requirements vary by location.
What size conduit does the Rheem RTEX-24 installation need? One detailed verified reviewer used 1-inch conduit specifically to fit all nine required wires for the three double-pole circuits, noting a smaller diameter wouldn’t physically accommodate them.
Does the Rheem RTEX-24 need a dedicated breaker panel? It needs three dedicated double-pole 40-amp circuits, which may require adding a sub-panel or auxiliary breaker box if your existing panel doesn’t have sufficient open slots or capacity.
How much does it cost to install a Rheem RTEX-24? Based on real reviewer-reported costs, electrical labor alone commonly runs $500 to $900, not including the unit price or any needed panel upgrades, and can vary significantly by region.
What tools do I need to install the Rheem RTEX-24? Basic plumbing tools handle the water connection, while the electrical work requires professional-grade tools and expertise typically reserved for licensed electricians, including wire pulling equipment for the required conduit runs.
Should I install isolation valves with my Rheem RTEX-24? Yes, several verified reviewers recommend this specifically to make future maintenance, like descaling, easier without shutting off your entire home’s water supply.
Do I need a surge protector for my Rheem RTEX-24? It’s not required, but at least one verified reviewer added one as a precaution to protect the unit’s digital control board from power surges, which is a reasonable extra step given the electronics involved.
References
- Rheem RTEX-24 official installation requirements, Amazon.com manufacturer content, accessed July 2026: https://www.amazon.com/dp/B01MS9DVEE
- Verified Amazon customer reviews detailing real installation processes, wiring specifications, and electrician costs, accessed July 2026